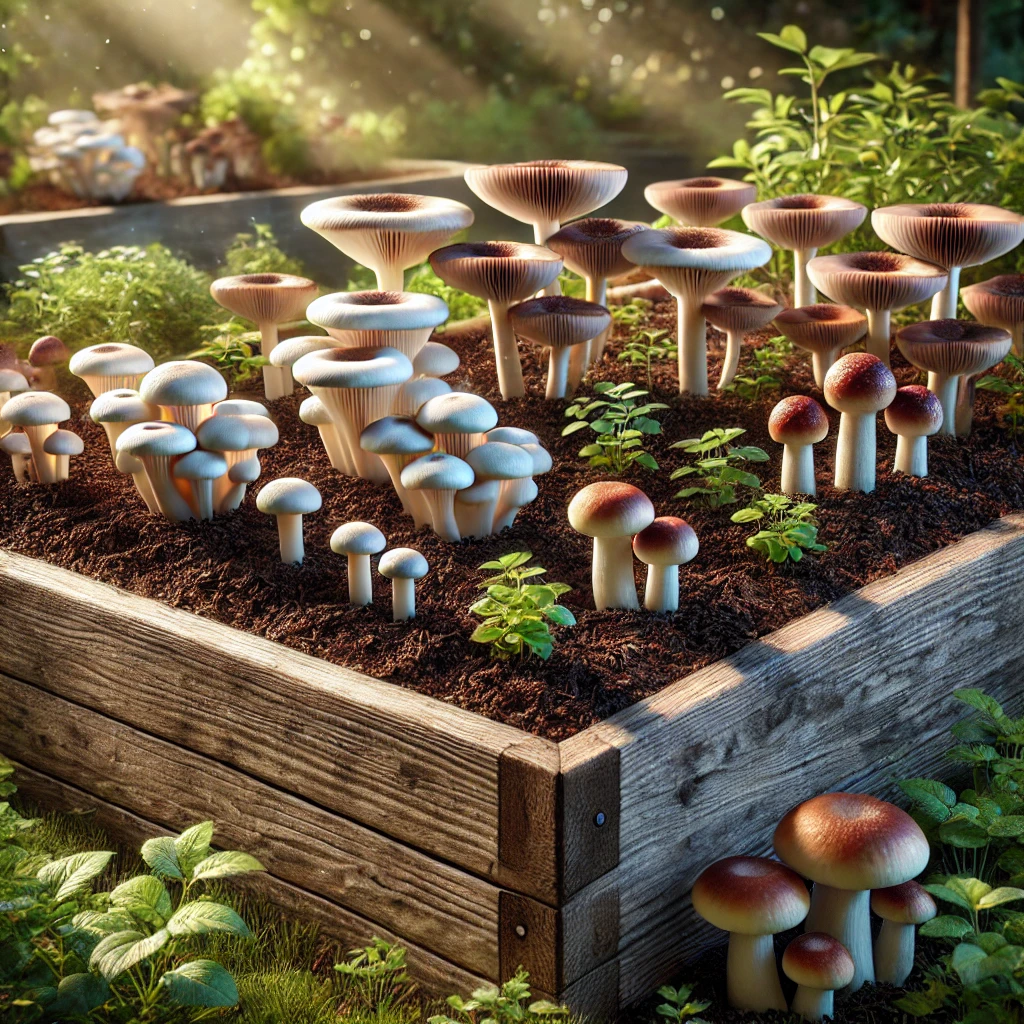
Growing edible mushrooms at home doesn’t require a dark basement or fancy indoor setups. If you have a garden, raised beds, or access to wood chips, you can cultivate delicious and nutritious mushrooms like oyster, shiitake, or even wine cap mushrooms outdoors with minimal effort.
Mushrooms grown in raised beds or wood chips not only provide a tasty harvest but also improve your garden’s ecosystem by breaking down organic matter and enriching the soil. Whether you’re new to mushroom growing or looking for a simple outdoor method, this guide will show you step-by-step how to grow edible mushrooms successfully in your garden.
1. Why Grow Mushrooms in Raised Beds or Wood Chips?
Growing mushrooms outdoors has several benefits:
- Natural Environment: Raised beds and wood chips mimic the mushrooms’ natural habitat, making it easier to cultivate them.
- Low Maintenance: Once established, mushrooms grow with minimal care, often yielding multiple flushes (harvests).
- Improved Soil Health: As mushrooms break down wood chips, they add valuable organic matter to your garden.
- Delicious Harvest: Fresh mushrooms like oysters and shiitake offer better flavor, nutrition, and versatility compared to store-bought varieties.
2. Best Mushrooms to Grow in Raised Beds or Wood Chips
Certain mushroom varieties thrive outdoors in wood-based substrates like wood chips and logs. Here are three of the best options:
1. Wine Cap Mushrooms (Stropharia rugosoannulata)
- Also known as garden giants, these mushrooms grow easily in wood chips and raised beds.
- Flavor: Earthy and nutty, great for soups and stir-fries.
2. Oyster Mushrooms (Pleurotus ostreatus)
- Fast-growing and beginner-friendly, oyster mushrooms thrive in wood chips or straw.
- Flavor: Mild and delicate, perfect for sautéing or adding to pasta.
3. Shiitake Mushrooms (Lentinula edodes)
- While traditionally grown on logs, shiitake mushrooms can adapt to wood chip beds with proper care.
- Flavor: Rich, savory, and meaty, ideal for grilling, soups, or risottos.
3. Materials Needed to Grow Mushrooms
To grow mushrooms in raised beds or wood chips, you’ll need the following materials:
- Mushroom Spawn: Spawn is the mushroom equivalent of seeds. Purchase high-quality spawn for your chosen variety (wine cap, oyster, or shiitake).
- Wood Chips: Use hardwood chips like oak, maple, or beech. Avoid softwoods (e.g., pine) as they are acidic and less suitable for mushrooms.
- Raised Bed or Growing Area: Build a raised bed (6–12 inches deep) or select a shady spot in your garden.
- Cardboard or Straw: Used as a base layer to hold moisture and support mycelium growth.
- Watering Can or Hose: For regular moisture, as mushrooms require a damp environment.
4. Step-by-Step Guide to Growing Mushrooms
Follow these simple steps to grow mushrooms outdoors in raised beds or wood chips:
Step 1: Prepare the Growing Area
- Choose a shady location to prevent the mushrooms from drying out. If using raised beds, ensure they are partially shaded or cover them with a light cloth.
- Lay a base layer of cardboard or straw at the bottom of the raised bed. This helps retain moisture and provides an initial substrate for the spawn.
Step 2: Add Wood Chips
- Spread a 2–3 inch layer of hardwood chips evenly across the bed or growing area.
- Lightly water the wood chips to ensure they are moist but not soaked.
Step 3: Inoculate with Mushroom Spawn
- Sprinkle the mushroom spawn evenly over the damp wood chips. Use a generous amount to ensure successful colonization.
- Gently mix the spawn into the top layer of wood chips, being careful not to damage it.
Step 4: Layer and Water
- Add another 2–3 inch layer of wood chips on top of the spawn.
- Water the entire bed thoroughly to create a moist environment.
Step 5: Maintain Moisture
- Keep the bed consistently damp, especially during dry spells. Mushrooms thrive in a humid environment.
- Water lightly every few days to maintain moisture levels without waterlogging the substrate.
Step 6: Monitor for Growth
- Over the next 4–6 weeks, the mushroom mycelium (a white, thread-like network) will colonize the wood chips. You may see white patches spreading across the bed.
- Once the mycelium is established, mushrooms will begin to fruit when conditions are right (cooler temperatures and high humidity).
5. Harvesting Your Mushrooms
- Wine Cap Mushrooms: Harvest when caps are 4–6 inches wide. Twist or cut mushrooms at the base to avoid damaging the mycelium.
- Oyster Mushrooms: Pick when caps are fully opened but edges are still slightly curled.
- Shiitake Mushrooms: Harvest when caps are firm and fully expanded.
Pro Tip: Mushrooms often produce multiple flushes. After harvesting, keep the bed moist, and you may see new mushrooms sprouting within a few weeks.
6. Long-Term Maintenance Tips for Mushroom Beds
Once your mushroom bed is established, ongoing care is minimal, but a few key practices will ensure continued success and multiple harvests:
1. Keep the Bed Moist
- Mushrooms thrive in humid conditions. Water the bed lightly every few days, especially during dry or hot weather.
- Pro Tip: Use a misting hose or watering can to avoid waterlogging the wood chips.
2. Add Fresh Wood Chips
- Over time, the mushrooms will break down the wood chips as food.
- Add a 1–2 inch layer of fresh hardwood chips annually to provide new nutrients for the mycelium.
3. Protect the Bed
- Cover the mushroom bed with straw or burlap during extreme heat or cold to regulate moisture and temperature.
- If growing mushrooms in a rainy area, consider using a light tarp to prevent oversaturation.
4. Monitor for Pests
- While mushrooms are resilient, watch for snails, slugs, or rodents that may nibble on the fruiting bodies.
- Use natural deterrents like crushed eggshells or diatomaceous earth around the edges of the bed to keep pests away.
5. Harvest Promptly
- Mushrooms grow quickly. Harvest as soon as they are mature to prevent them from over-maturing or rotting in the bed.
7. Common Mistakes to Avoid
Growing mushrooms outdoors in raised beds or wood chips is simple, but mistakes can hinder your success. Here are the most common pitfalls and how to avoid them:
1. Using the Wrong Wood Chips
- Avoid softwood chips like pine, cedar, or cypress, as they are too acidic for most mushrooms.
- Stick to hardwood chips such as oak, maple, or beech.
2. Allowing the Bed to Dry Out
- Inconsistent moisture is one of the main reasons for failed mushroom beds.
- Water regularly and mulch with straw to retain humidity.
3. Choosing the Wrong Location
- Mushrooms prefer shade or dappled light. Avoid placing your bed in full sun, which can dry out the wood chips.
4. Spreading Spawn Too Thin
- Use a generous amount of mushroom spawn to ensure successful colonization.
- Too little spawn can result in slow or patchy mycelium growth.
5. Ignoring the Weather
- Mushrooms prefer cooler temperatures and high humidity for fruiting. Plan to inoculate your bed in spring or fall for best results.
8. Benefits of Growing Mushrooms in Raised Beds or Wood Chips
Growing mushrooms in your garden isn’t just about harvesting delicious food. Here are some additional benefits:
1. Improves Soil Health
- Mushrooms break down wood chips into nutrient-rich organic matter, enriching your garden soil naturally.
2. Sustainable Food Source
- Homegrown mushrooms are eco-friendly, reducing packaging and transportation waste.
3. Cost-Effective
- Mushroom spawn is inexpensive, and once the bed is established, you’ll enjoy multiple harvests for years.
4. Supports Biodiversity
- Mushroom beds attract beneficial organisms like fungi-friendly insects and earthworms, enhancing garden biodiversity.
5. Versatile Use
- Fresh mushrooms can be used in stir-fries, soups, grilled dishes, and even preserved by drying or pickling.
9. Conclusion: Start Your Outdoor Mushroom Garden Today
Growing edible mushrooms in raised beds or wood chips is a rewarding and low-maintenance way to add fresh, nutrient-dense produce to your garden. By choosing beginner-friendly varieties like wine cap mushrooms, oyster mushrooms, or shiitake mushrooms, you can transform a shady corner of your yard into a productive, eco-friendly food source.
To recap:
- Choose the Right Varieties: Wine cap, oyster, and shiitake mushrooms thrive in outdoor beds.
- Set Up Properly: Use hardwood chips, maintain moisture, and provide shade for successful growth.
- Maintain the Bed: Add fresh wood chips annually, keep the bed damp, and harvest mushrooms promptly.
With minimal effort, your mushroom bed will reward you with multiple flushes of fresh mushrooms while enriching your soil and boosting garden biodiversity.
Ready to get started? Purchase high-quality spawn, set up your bed, and enjoy the simple pleasure of harvesting your very own edible mushrooms.
For more guidance on mushroom cultivation, explore these trusted resources:
- Gardening Know How: Growing Mushrooms Outdoors
- Fungi Perfecti: Beginner Mushroom Growing Tips
- The Old Farmer’s Almanac: Mushroom Growing Basics
Start growing today and discover the magic of mushrooms in your backyard! 🌱🍄✨
Related Articles
- Growing Edible Perennials for Food Forest Gardens
- Designing a Tea and Cocktail Garden for Entertaining
- How to Grow Edible Mushrooms in Raised Beds or Wood Chips
- Edible Weeds: Turn Your “Garden Pests” Into a Meal
- Growing Edible Vines: From Passionfruit to Akebia
More from This Category
- Creating a Medicinal Herb and Edible Flower Garden
- How to Grow Edible Roots You’ve Never Heard Of
- Uncommon Berries You Can Grow at Home
- Growing Edible Aquatic Plants in Backyard Ponds
- Cultivating a Perennial Edible Garden: Low-Maintenance Crops for Years of Harvest
Additional Resources
- How to Grow Edible Cacti and Succulents
- Growing a Salad Garden in Small Spaces
- How to Grow Edible Mushrooms in Your Backyard
- The Benefits of a Tea Garden: Growing Herbs for Your Own Teas
- 10 Uncommon Vegetables You Can Easily Grow at Home
- Edible Flowers: How to Grow and Use Them in Your Garden